Here is the two part installment of Curtis turning a baluster leg. Curtis has done a great deal to refine this form and make it a dynamic element. As he says, he is self taught, so much of his technique is hard won skill and not while not textbook correct, you can't argue with the results.
Here is the 1st part. To see the best High Def version click here.
One technique that he uses that I think is especially worthy of attention, is the way that he forms the coves before he sizes either of the elements beside them. This allows him to get very crisp edges without the any tricky entry cut on the coves. If you've ever destroyed a "birds beak" while trying to refine the cove, you know what I mean!
And here is part 2.
Friday, July 22, 2011
Tuesday, July 19, 2011
Ugly Jigs that Work Great: Part 3
This next jig is aided by the discovery (thanks to my student Bill Rainford) of a brand of pencil that can replace the fabled "No Blot Bottle of Ink in a Pencil". The "No Blot" is a pencil that writes on wet wood and like all things right and good, it's out of production. I saw someone the other day on a website selling them for $15 a piece!
Lee Valley has a version, but the lead is way too soft and is worn away or broken by rough wood.

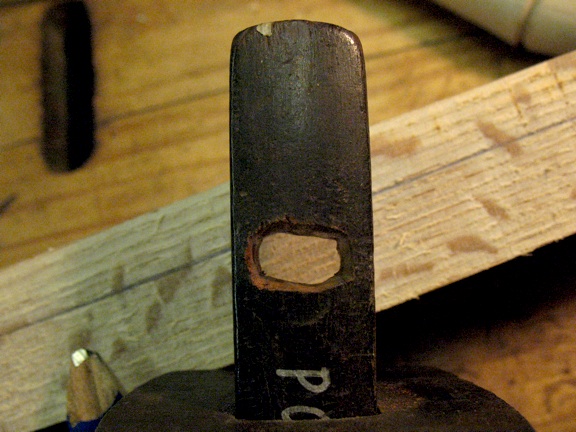
It's the Sola KB24, and I bought mine from Kuker-Ranken in Seattle, for $1.50 a piece, plus they are huge and can be sharpened to a chisel point. They do have an odd shape, so I fussed with some drill bits and small files to make the hole in an old marking guage that you see below.

Now I have an easily adjustable marking guage for all my green woodworking.

It may sound like a small thing, but when I saw the fine consistent line that I could get, I knew that my work just got a lot easier and more accurate.

Just a few of these will be a lifetime supply.
Lee Valley has a version, but the lead is way too soft and is worn away or broken by rough wood.

It's the Sola KB24, and I bought mine from Kuker-Ranken in Seattle, for $1.50 a piece, plus they are huge and can be sharpened to a chisel point. They do have an odd shape, so I fussed with some drill bits and small files to make the hole in an old marking guage that you see below.
Now I have an easily adjustable marking guage for all my green woodworking.

It may sound like a small thing, but when I saw the fine consistent line that I could get, I knew that my work just got a lot easier and more accurate.

Just a few of these will be a lifetime supply.
Monday, July 18, 2011
The Student's Eye View
While I have to go unpack my tools, I figured that I'd let Charles Hamm, one of my recent students at the North Bennet Street School, fill you in on the class.

You can check out his pictorial blog here. He is enrolled in the 2 year cabinet making program and is also making all sorts of cool puzzles that you can see on his web site. I love teaching at North Bennet Street because of the talent and enthusiasm of the students, and Charles is a great example.

You can check out his pictorial blog here. He is enrolled in the 2 year cabinet making program and is also making all sorts of cool puzzles that you can see on his web site. I love teaching at North Bennet Street because of the talent and enthusiasm of the students, and Charles is a great example.
Friday, July 8, 2011
More Ugly Jigs that Work Great: Part Two
Now here is an elegant jig. A perfect melding of species, craft and drywall screws!

I've posted before about grinding drill bits, and I've shown a lot of students the method. Over the years, I started to see the limits of the grinds, some too aggressive in softwoods, some too slow in hardwoods. So when I decided to make a drill bit grinding jig, I finally had some idea of how it should work.

I chose an 8 degree angle for the center spur, which is made by attaching the "fence" to the bottom of the guide at a 4 degree angle. (thanks Tim for pointing out the doubling effect!).

Then it's just a matter of setting the angle of the tool rest. (If you haven't seen the basic grinding method, which remains the same, check out this post.)

I found that an 18 degree angle works great in hardwoods for drilling armrails blowout free, and that an 11 degree angle will slow a 5/8" bit down enough to cut pine without chewing it to bits. All that's left is to set some rare earth magnets into the base to get rid of the pesky clamps.
This photo is of jigs (sort of), but hardly the ugly kind! Andy Jack helped me make these for my class that starts tomorrow. They are available for sale to the students, and if we have any left, I will post them here. The wood for these was a gift from my friend Peter Krupowicz, I believe it's bubinga. Anyway, they are gorgeous and work beautifully.

The other things that are working these days are my chickens. I have been letting them free range lately and the egg yolks have turned from yellow to a burnt orange color! What a difference grass and bugs make!

Here they are enjoying a dirt bath. When I walk into the yard, they all run up to me like dogs. If I go to get the mail, I have to trick them so they don't follow me into the road. It's a humbling moment when you have to think before outsmarting a chicken.
Tuesday, July 5, 2011
Detour
I wrote a post for the Highland Woodworking Online Newletter, check it out here!
I'll be teaching a class there this fall, click here for more information. I'm looking forward to returning to Atlanta, besides getting my Mother's home cooking (I came home with 5 extra pounds!), the folks at Highland run a class act. I hope to see you there.
I'll be teaching a class there this fall, click here for more information. I'm looking forward to returning to Atlanta, besides getting my Mother's home cooking (I came home with 5 extra pounds!), the folks at Highland run a class act. I hope to see you there.
Saturday, July 2, 2011
More Ugly Jigs that Work Great: Part One
For my upcoming class at the North Bennet Street School, I called Elia Bizzarri to get some travishers and he informed me that he was out for the moment. But he was kind enough to sell me some blades that I could make my own. Having 6 blades to sharpen is different than just maintaining the one in my hand. I'm generally happy to freehand grind and hone. But the quantity pushed me and my intrepid friend Andy Jack to find something more consistent.

Perhaps folks have been doing this all along, but it's news to me...and good news at that. I took an ugly pine scrap and cut the curve of the blade into it, aligned the edge flush to what would become the bottom of the jig, and screwed it on.
Next, we set the angle of the tool rest so that the wheel of the grinder contacted the middle of the bevel.

Once we had it, Andy simply moved the curve along the wheel until it reached the edge.

Once the grinding was done, he dressed the edge with diamond paddles and then a hard dowel, chucked in a drill with some diamond paste on it.
You can do this while still in the jig, or in a vice.

After the bevel is honed, he honed the back on the stones, which is easy because the bending process leaves a lovely hollow on the back.

And why did I need Andy's help? Well, I had a few turnings to finish up for the class!

Subscribe to:
Posts (Atom)
