Monday, April 28, 2014

Hot Stuff

I recently rebuilt my larger steambox that I use for classes. I had such good results using the two steamers and insulated boxes in Atlanta and North Carolina, that I wanted to see what I could do.

Here is the box that I made. I used a tongue and groove that ran the length of the box to seal the sides and Gorilla glue to seal the joint. Since this photo, I've added a proper hasp.


The insulation is 1 inch thick foil faced and is just draped over the box. Without the foil face, the insulation will swell and warp. With this set up, and insulation on both ends, I was able to get the box up to 210.5 degrees f. With 212 degrees being the absolute highest that the temp can get without being pressurized, I call this a success.


When we opened and closed the door to retrieve the bends, the temp only dropped about 6 degrees and recouped the heat within minutes. One thing that I noticed was that one of the two steamer units went through water much faster than the other, and so I checked the wattage. Sure enough, my older one was 1250 and the new one that I bought at Highland was 1500. While the bends came off beautifully, I can only imagine that two 1500 watt units would be the ideal. Keep in mind that this box is 9 by 11 inches so that it can hold a whole class worth of parts and must keep the heat up with lots of door openings. On a smaller box, one unit is fine, especially if it's insulated.

Wednesday, April 23, 2014

A little sample


The Lost Art Press blog featured a sample of the book yesterday. If you didn't see it already, check it out!

We are almost ready for filming Rough Cut tomorrow. Perhaps the best thing to come of it is that we had a great excuse to clean out the shop! I haven't seen it this clear in years.


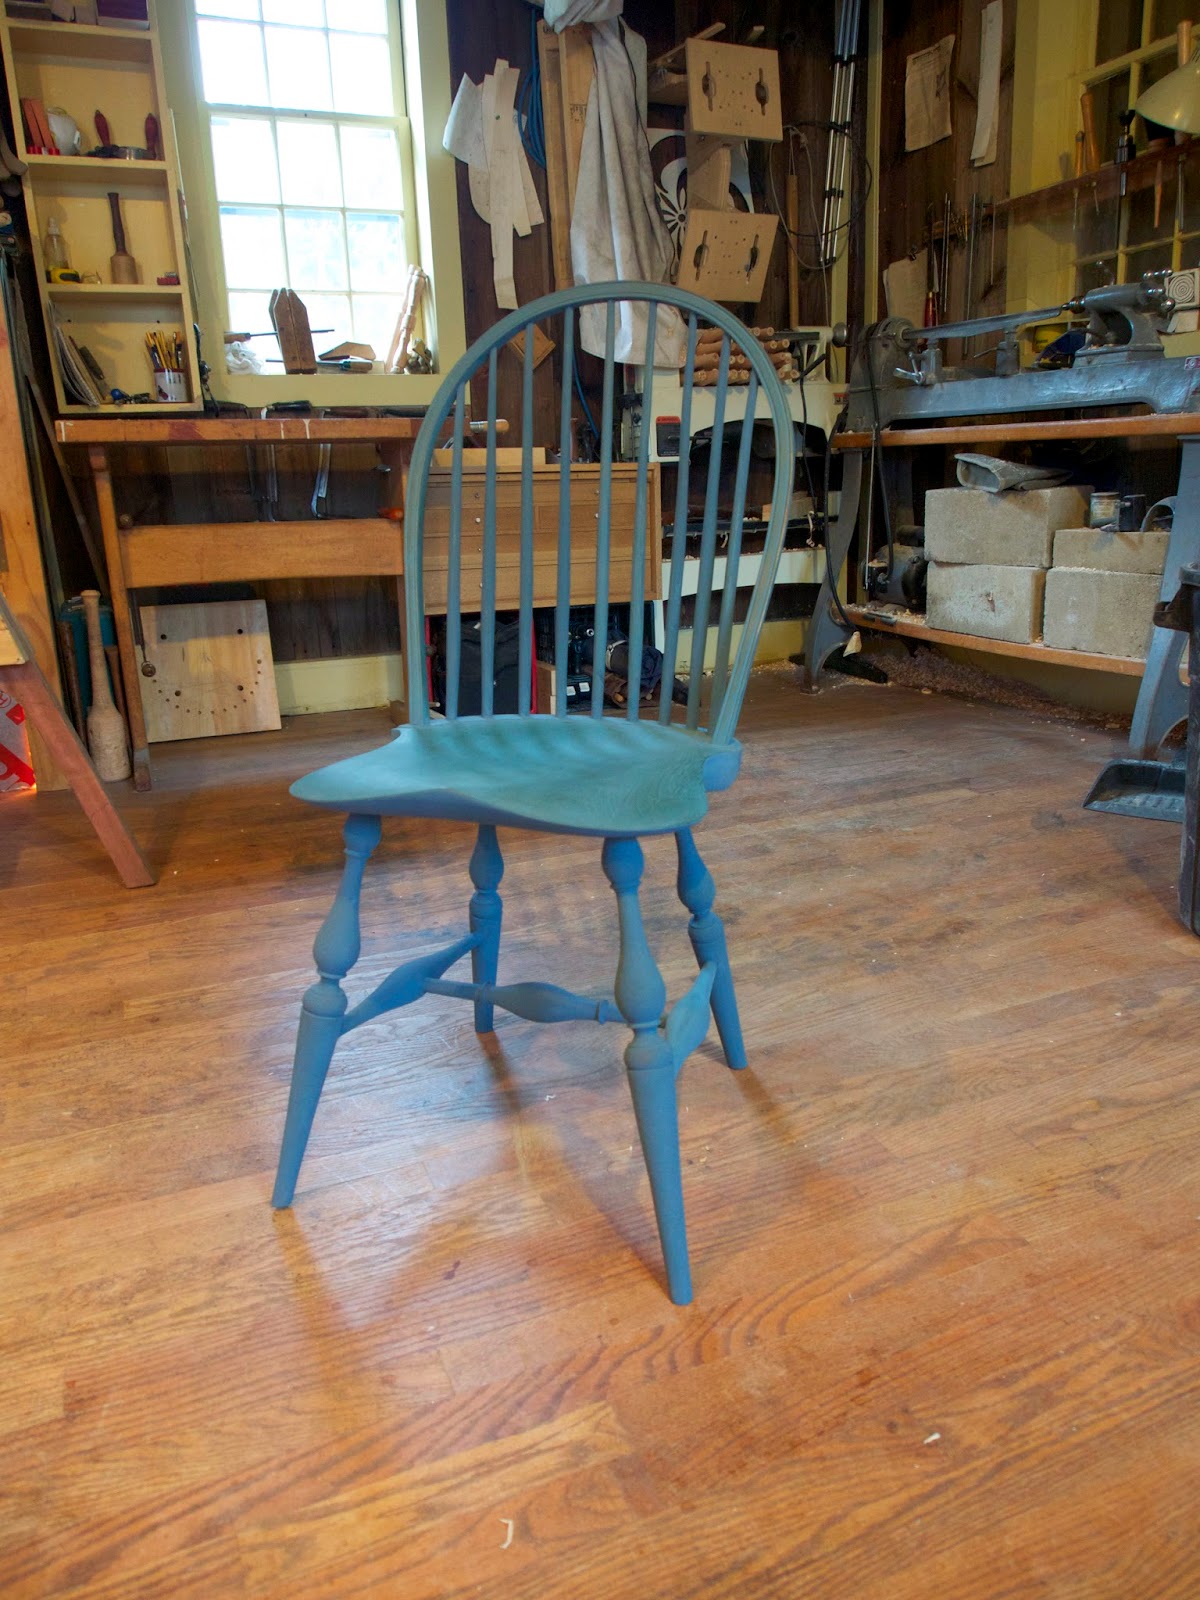
I am finishing the prototype for the set of chairs that I'm reproducing. It came out darn close to what I wanted, but I've made changes for the final design after seeing it in person. It's usually the case that a drawing of a chair looks different than the actual results, so the prototype is usually a necessary step before making the chairs for the client.

The Original


If you ever visit, you'll see that I always end up with the prototypes. This chair is a simple form, but as I've made my way through all the aesthetic choices, I've found it to be a finely tuned design. I'll show more about this soon. I'll have plenty of chances while finishing 6 more of them.

Thursday, April 17, 2014

Starting from Photos


I've often been asked about starting a project from a photograph. I made my first chair that way, as a copy of one of Curtis Buchanans chair in a magazine. When I saw it in person, I was surprised by how far off the mark I was. Not only did I get just about every shape and proportion wrong, but the magazine had made his yellow chair look quite green. That was a lucky break for me as the green that I painted the chair became a favorite color!
Since then, I've learned a lot about the process.

A client recently asked me to reproduce a chair for a set, and the Museum where the original is housed refused to let us take measurements. Don't get me started...
Anyway, here is the scan that he sent me.


He is dropping the book by with the image soon so I can get better details, but this is my starting point.

My first step is to create a rough scaled drawing while getting to know the details and relationships in the chair. I'm trying to figure out the role that the different elements play so that I can get the overall impression to match, even before fleshing out the details.
I try to pin the scale of the chair by some educated guesses. Usually, older chairs like this are rather small, but a 17" to 18" height at the front is probably reasonable, and besides, it will ensure that the chairs can be used at a normal table. The chair is not shot straight on, which is almost always the case, but it is straight on enough that I can use the height to guess the distance between centerpoints of the bow where it enters the seat are about 13" apart. I confirmed this dimension on my own hoop backs as well as the measured drawings in John Kassays book.


Once I had those dimensions, I was able to start a scaled drawing at 3/16" scale. After I had found the width of the bow where it enters the seat on the 3/16" scale ruler, I printed a copy of the photo so that the dimension of the bow in the photo matched the drawing. From there I could scale all the parts directly from the photo.

Next, I'll refine all the proportions, measurements and angles in an accurate drawing that I can scale up for the patterns and forms.
Next week Tommy MacDonald is stopping by to film an episode of Rough Cut on building Windsors and we will be showing the construction of this chair.