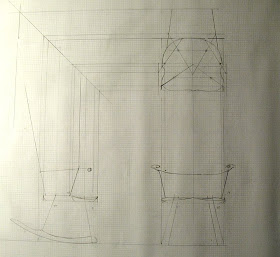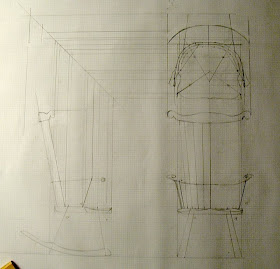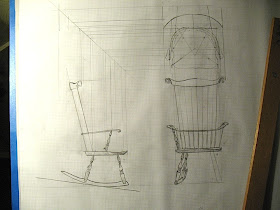
Alan asked if he could do his comb back rocker with a shield seat instead of the oval that I usually use and I thought the redesign required would be a good way to show the drawing process step by step.
I began by designing the seat pattern full scale. I used other chairs and just a basic sense of what I wanted to locate the legs and proportions.

The first step in the drafting/design process is to block out the seat in the 3 views.

Then I located the legs by measuring the pattern that I made.

Next the seat shape can be drawn from the pattern. The location of the coves cut into the side are very helpful.

This is where I leave the pattern and start designing on the page. These are the leg angles. On a rocker, it's important that the locations of the front and rear legs will give a nice looking taper effect to the rockers as they exit the rear legs. Notice that because the seat is drawn parallel to the floor line that the rockers unnaturally pitch up at the back, I'll correct this later by redrawing the floor below the side view.

Below, the armposts and rail set in place. I used the same curve from my normal comb back to get a lot of these measurements but I did lengthen the arm 1 inch to account for the deeper shield seat.

Next come the spindles and spindle spacing on the seat, arm and crest. Once again, each drawing informs the others.

Finally, I add some details to help the overall feel and proportion. We'll have a chance to see the finished chair at the end of the week!

Pete - your sharing of information is much appreciated. I agree with the initial process of sitting down in front of a board when begining the design phase.It seems to make you a better part of the design and improves your vision of the completed project. Once again thanks for sharing.
ReplyDeleteThank you, thank you,thank you! For sometime now I have had some ideas running around in my head about chair designs/modifications, and was not sure how to get them out. This is wonderful and you get bet the farm I will now use it often.
ReplyDelete